Installing Visual Studio Code on Ubuntu Linux
GAI: how to install vs code on ubuntu
Note: this is the method I used on the Visual Studio Code / Git test box
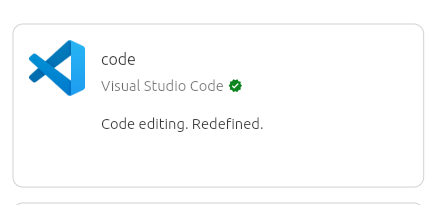
Method 3: Using the Ubuntu App Center (Easiest / Graphical)
-1- If you do not want to use the terminal, you can install VS Code as a Snap package visually.
-2- Search for Visual Studio Code or code
-3- Click on the official Code listing and click Install.
-4- Enter your system password to confirm the setup.(If you want to use the terminal for this method, simply type: sudo snap install code –classic)
Method 1: Using the APT Repository (Recommended)
This method integrates perfectly with your system and guarantees fast, native performance.
- Open your terminal by pressing Ctrl + Alt + T.
- Update your package manager and install dependencies:
sudo apt update
sudo apt install wget gpg apt-transport-https -y
-3- Download and import the official Microsoft GPG key:
wget -qO- https://packages.microsoft.com/keys/microsoft.asc | gpg –dearmor | sudo tee /usr/share/keyrings/vscode.gpg > /dev/null
-4- Add the repository to your system sources list:
echo "deb [arch=amd64 signed-by=/usr/share/keyrings/vscode.gpg] https://packages.microsoft.com/repos/code stable main" | sudo tee /etc/apt/sources.list.d/vscode.list
-5- Refresh your package lists and install VS Code:
sudo apt update
sudo apt install code -y
Method 2: Download the Official .deb Package
If you prefer downloading a file via your browser, you can install it using a .deb package.
-1- Go to the Official VS Code Download Page and click the .deb package button.
-2- Once downloaded, open your terminal and navigate to your Downloads folder: cd ~/Downloads
-3- Install the package using apt (which resolves dependencies automatically):
sudo apt install ./code_*_amd64.deb