They call it Jasmine but it’s really Cestrum nocturnum.

They call it "jasmine" but it's really Cestrum nocturnum. It only blooms at night because it is pollinated by moths. ( mariposa in Portuguese )
They call it "jasmine" but it's really Cestrum nocturnum. It only blooms at night because it is pollinated by moths. ( mariposa in Portuguese )

Software
Research Links
Software development using GitHub works by leveraging Git, a distributed version control system, hosted on a web-based platform that adds tools for collaboration, code review, and project management. This system allows multiple developers to work on the same codebase simultaneously without overwriting each other's changes.
Key Concepts
The Typical GitHub Workflow
The standard process, often referred to as the GitHub flow, involves a series of steps to ensure code quality and seamless collaboration:
git clone command.
git checkout -b <branch-name>.
git add to stage files and git commit to record the changes as a snapshot in their local repository.
git push command.
This iterative cycle allows teams to manage complexity, track history, and maintain a stable main codebase while experimenting and collaborating efficiently. The process is further enhanced by integrated tools like Issues for task tracking and GitHub Actions for automation (e.g., automated testing and deployment).
Links
From GS Email – 1/25/2026 – Post Presention Summary
In the first hour I showed some PRs I prepared for MIME::Lite you can watch the video here.
In the second hour we had two pair-programming sessions. In each one a participant was writing the code and I was giving the instructions. Driver-navigator style. Others added valuable comments. This part was also recorded and you can watch it here.
Please follow that channel and "like" the videos. That will help spreading them a bit further.
I've schedule a new event. You can register here.
I also mentioned that in order to make these events sustainable I am looking for corporate sponsors. If you work at a company that uses Perl a lot and you think these sessions are valuable, let's work out a way for them to sponsor the events.
Sponsors will be mentioned on the OSDC web site and in the Perl Weekly. They will also be able to give a list of modules important for them and we'll try to work on those in our sessions.
Research Links
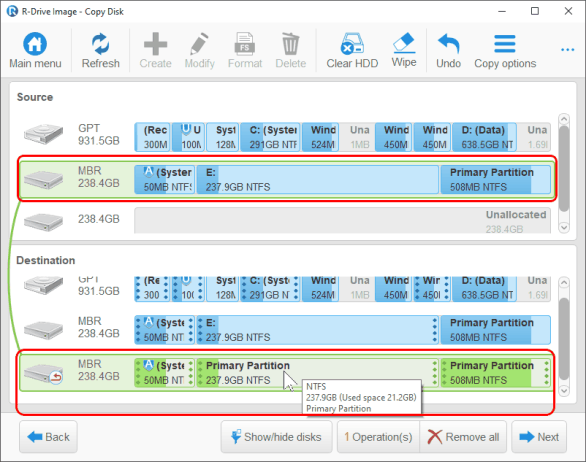
To clone a disk in Ubuntu, the most common methods involve booting from a Live USB and using tools like dd (block-level copy) for a direct clone or Clonezilla / Gnome Disks for a more user-friendly, partition-aware process, ensuring the target disk is equal or larger, and being extremely careful with device names (/dev/sda, /dev/sdb) to avoid data loss.
Yes, you can easily clone from one external disk to another in Ubuntu using command-line tools like dd or rsync, or dedicated graphical tools like Clonezilla, ensuring you identify source/target drives correctly to avoid data loss, often by booting from a Live USB for system drives. Always double-check drive identifiers and consider post-clone steps like updating UUIDs if you plan to use both drives simultaneously or move the cloned drive to a new system.

End TOC
Research Links: VS Code
Research Links: VSCodium
Research Links YT: How To Run Private & Uncensored LLMs Offline | Dolphin Llama 3
Research Links
Here is the step-by-step process for the easiest local setup:
1. Set Up Your Local Environment
2. Implement Local Vector Search
Install a Semantic Search Plugin: Inside your local WordPress dashboard, install a plugin that supports vector embeddings.
3. (Optional) Enhance with Local LLM (True Local AI)
To make it "totally local" (meaning no OpenAI API), you can connect the plugin to a local model runner:
Summary of Tools
This setup ensures that all your data stays on your machine, no external API calls are made, and your search functionality remains active without internet access.